
LSP, or Linux Studio Plugins is a comprehensive suite of audio plugins providing you a toolbox of essential audio, and you can actually install LSP plugins on macOS. You do need to build them from source, but it’s actually really easy to do.
When I first started mastering, some of the EQ work I trusted was done on plugins from the Linux Studio Plugins collection. LSP are open source, and technically very, very solid. The developers have been working on these for over a decade and have deep knowledge of DSP. They are musicians themselves, so they are tools they initially developed for themselves. On top of that like any good open source project, they get feedback from users, and have other people contributing to the project.
This is the difference between a traditional open source project and the new phenomenon of vibe coded slop. Those things are thrown together fast, barely tested, and capable of crashing your system at the worst possible moment. The people who develop them often have neither a background in DSP (Digital Signal processing OR in coding) Quality open source isn’t developed by one or 2 people with a Claude account, they usually start with a developer that has a passion to build something to solve a problem then other developers join in and then people who also share the same problem. Communities build around these projects and that takes place of support and helps ensure the longevity of a project.
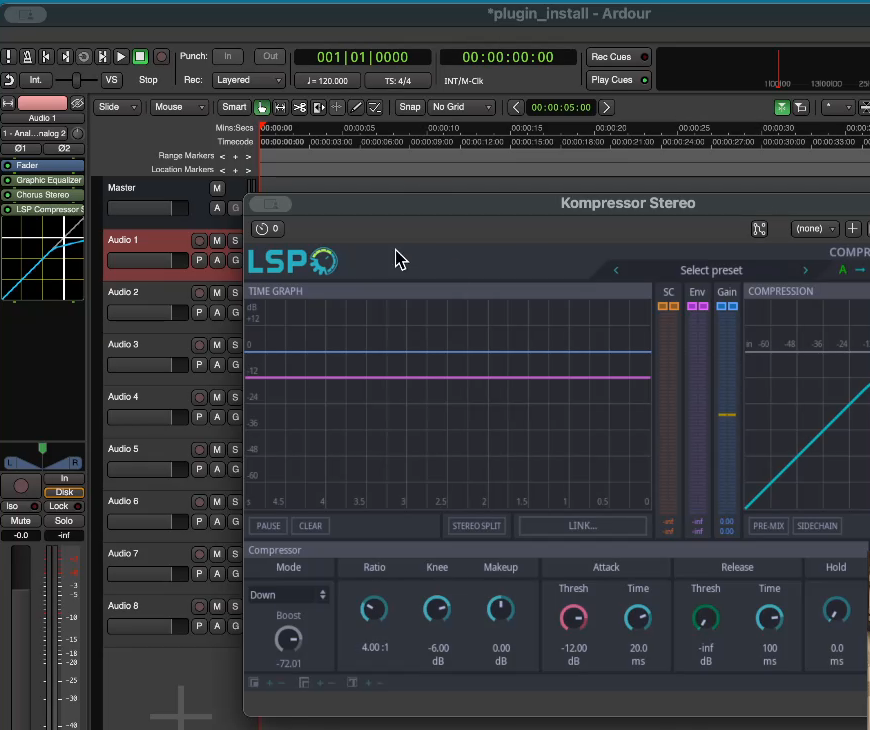
There’s a practical argument for building one collection over picking free plugins at random from a repository.
A single download of unknown origin can be risky, you don’t know who built it or how much testing it’s had.
With LSP, everything comes from one source tree: the mixing tools, the reference plugins and the impulse responses. When the project updates, everything updates from the same place.
When you build it from source, the build process delivers all formats for your OS (except AAX I think). VST 2 and 3, AU , CLAP and LV2. If you haven’t heard CLAP is a newer format that seeks to improve on VST, and LV2 started as a linux native format, but is available on Ardour, Mixbus and Reaper.
The breadth is the point: basically everything a mix needs, from a source you can inspect, rather than a plugins folder assembled one lucky download at a time.
This post is the full walkthrough for getting LSP onto a Mac by building it from source. It’s a handful of terminal commands, pasted in order, and at the end your DAW has a full toolkit in it.
The whole build in one glance
The prerequisites: Homebrew, the source archive from lsp-plug.in, and somewhere to keep source (~/src in my case). Then, in order — each step is covered below:
- Move the archive out of Downloads into your source directory. (mkdir ~/src , if you don’t have one)
- Unpack it —
cd ~/src, thentar -xvf lsp-plugins-src-1.2.35.tar. - Install the build dependencies —
brew install make cairo freetype pkgconf php git. - Configure the build —
cd lsp-plugins, thengmake clean, thengmake config. The features line should show clap, lv2, vst2 and vst3. - Build it —
gmake. This takes a while; leave it running. - Install it —
sudo gmake install. It asks for your password. - Scan and restart — in Ardour: Preferences → Plugins → Scan, then restart. The LV2s need it.
The collection
The project page is at lsp-plug.in. There are 47 different plugins, which then have variations for mono and stereo, mid/side and separated left right channels. EQ and other multiband plugins have variants with 8 , 16 and 32 bands.
The suite has all the essentials, EQ, compression,
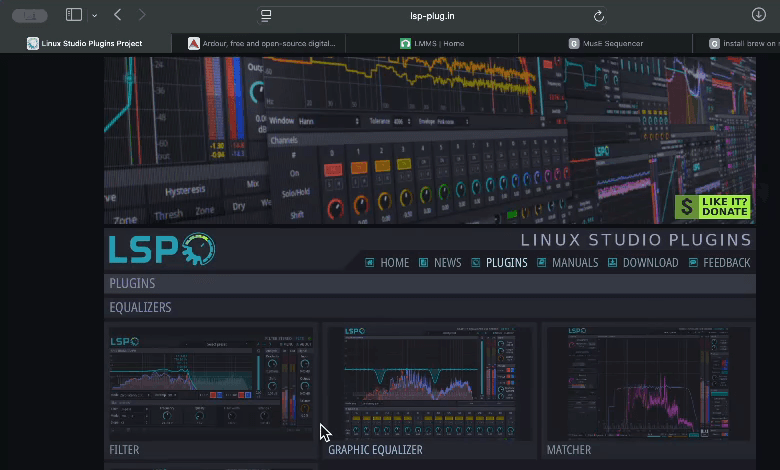
They run on Linux , Mac and Windows, but I wouldn’t recommend that. Windows eats up your CPU cycles sending telemetry back to Microsoft, and kills your latency.
Before you start
Three things:
- Homebrew. The Mac package manager. If you haven’t got it, the Homebrew site gives you an install command — copy it, paste it into Terminal, and it installs the whole thing.
- The source archive. From the download page on lsp-plug.in. Mine was
lsp-plugins-src-1.2.35.tar— if yours is a later version, swap the filename in the commands below. - Somewhere to keep source. I use
~/src. (Create it with mkdir ~/src it puts it in /Users/[your username]/src
1. Move the archive out of Downloads
Source code doesn’t belong in your Downloads directory. Move the archive to wherever you keep source — ~/src in my case.
2. Unpack it
cd ~/src
tar -xvf lsp-plugins-src-1.2.35.tar
A tar file is just like a zip file. That unpacks the source tree and leaves you with a folder called lsp-plugins next to the archive.
3. Install the build dependencies
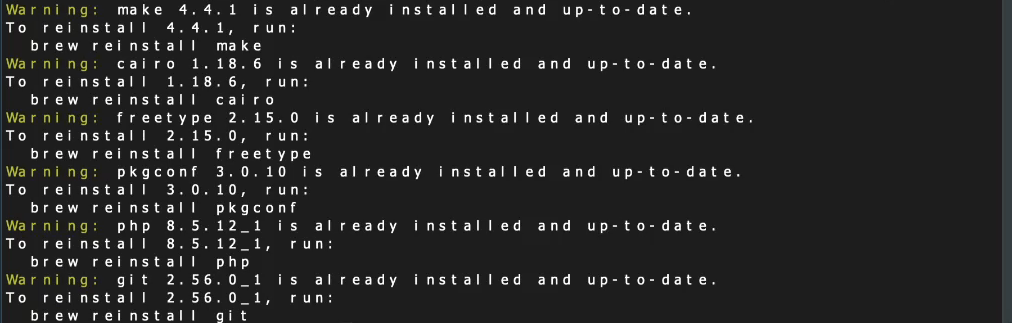
brew install make cairo freetype pkgconf php gitBrew warns you about anything already installed and downloads the rest. I said on camera that I’d put these instructions on the blog — this is that cheat sheet.
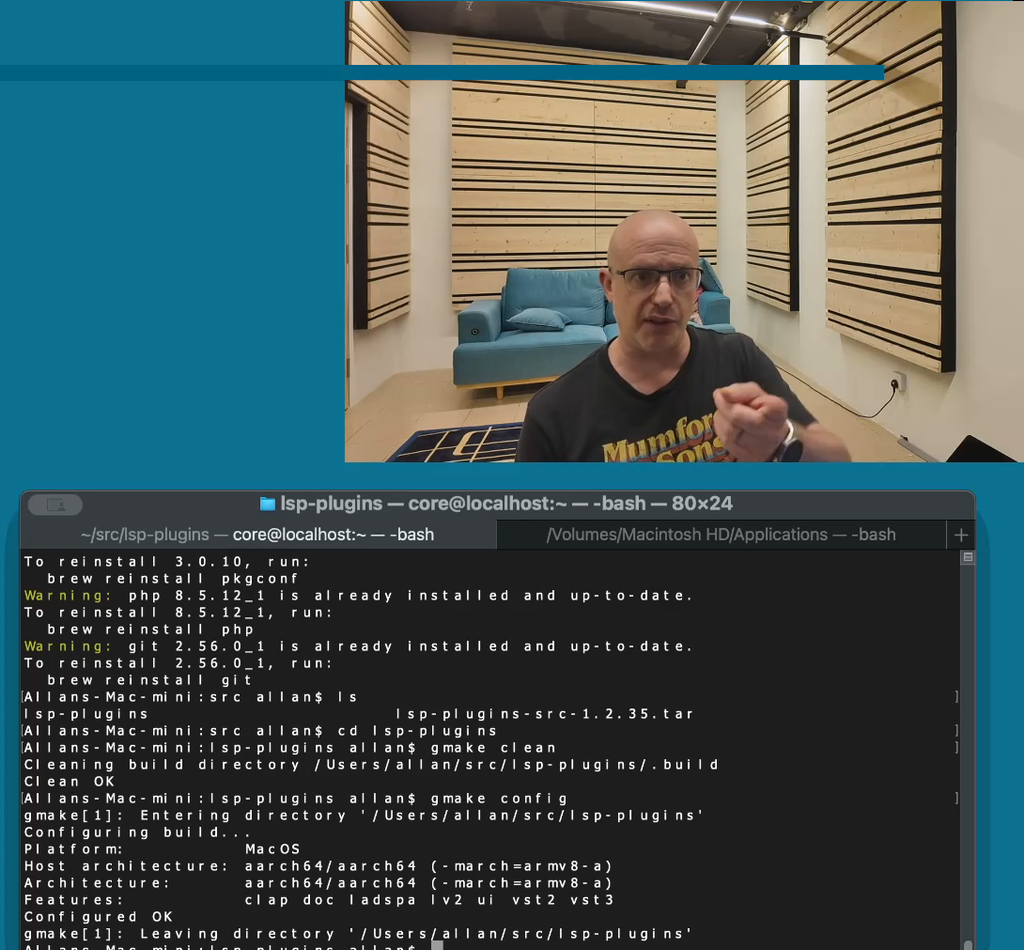
4. Configure the build
cd lsp-plugins
gmake clean
gmake config
The gmake clean is for posterity, if there’s an old build sitting in the folder, it clears it out and gets things ready for a new build. So you don’t really need to run that the first time, but it’s a good habit to
gmake config is pretty clever. It reads your machine and configures the build to suit, your operating system, your CPU and available libraries. It can detect an M1 versus an M2 versus an M4 might want different specs, and it works out what’s needed. On my Mac mini:
Configuring build...
Platform:         MacOS
Host architecture: aarch64/aarch64 (-march=armv8-a)
Architecture:     aarch64/aarch64 (-march=armv8-a)
Features:         clap doc ladspa lv2 ui vst2 vst3
Configured OK
The features line is the one to look at. CLAP gets built, alongside LV2, VST2 and VST3.
5. Build it
gmakeThis is the watching-the-paint-dry part. It compiles the whole collection while you do something else. (About 10 minutes or less on an m2 mac)
6. Install it – INSTALL LSP PLUGINS on MACOS !
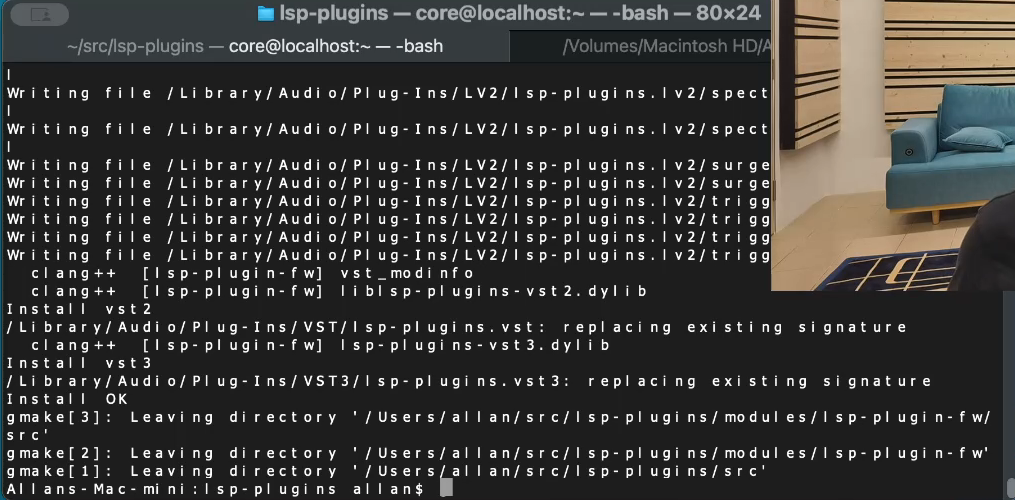
sudo gmake installNote the sudo at the start, that tells to install with privileges, so it asks for your password. That’s required so the plugins are installed where they need to go, equivalent to allowing permissions with a normal app install. When that finishes, the plugins are on your system.
7. Scan for plugins in YOUR DAW
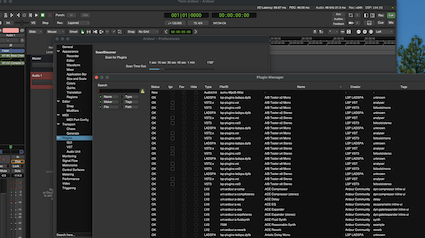
The install isn’t visible in your DAW until you scan for it. In Ardour it’s Preferences → Plugins → Scan. Each DAW has their own process but they are usually straightforward..
8. Restart
One last thing: restart Ardour. If you want to use the LV2 plugins, the restart is what makes them usable.
What you end up with
A workhorse toolkit, all the audio plugins that are essential for mixing,
The LV2s run in Ardour, Mixbus and Reaper . The rest will run in any DAW that supports VST (2 or 3) , AU plugins and CLAP.
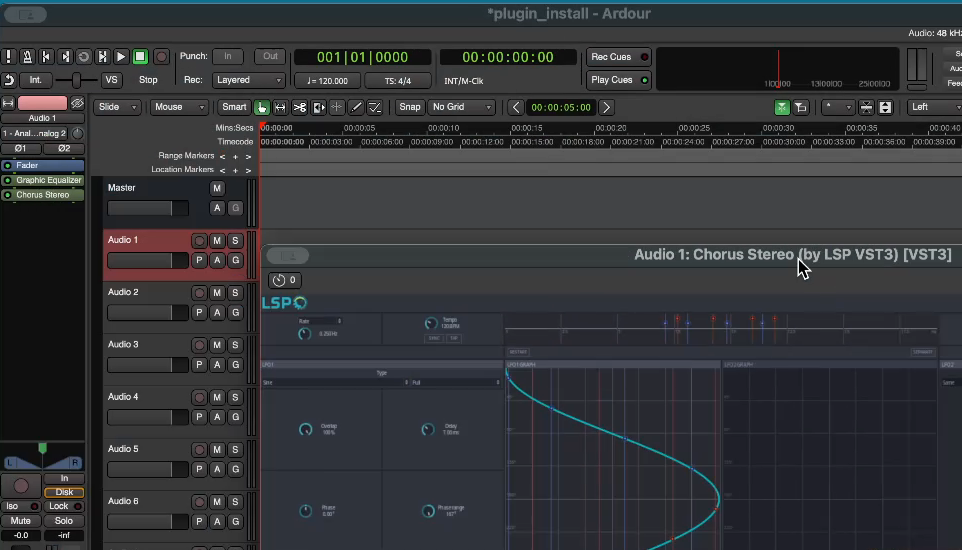
Two that I tried first on this install. The VST3 chorus is fun and sounds good. Then I tried the 32 band graphic EQ , not that I’d really use that
Typcially, I use the parametric EQ’s , these are quite interesting as they allow you to use different filter types to get different results. You could create presets that aren’t just EQ curves but actually with variations in the filter type to create you own highly unique setups.
My favourite of the non standard ones is beat breather, which is a multiband dynamics processor that can really make a flat drum recording punch out hard (great for making sample loops)
Technically these are solid, reliable plugins, and there are a few in the collection that are really interesting. For the majority of what a mix needs, this covers it.
Final thoughts
Building from source sounds like more work than it is. A handful of commands and one plugin scan later, you’ve got a free collection that’s solid and reliable — the other end of the scale from the vibe-coded stuff that can take a session down with it.
If you’re starting out mixing and you want good plugins — don’t get junk, get some good stuff.
If you hit a snag partway through a build, the comments are open. Don’t be shy, we love answering your questions.
And if you want a second pair of ears on your next mix message me for a no-obligation chat Contact Steam Mastering