
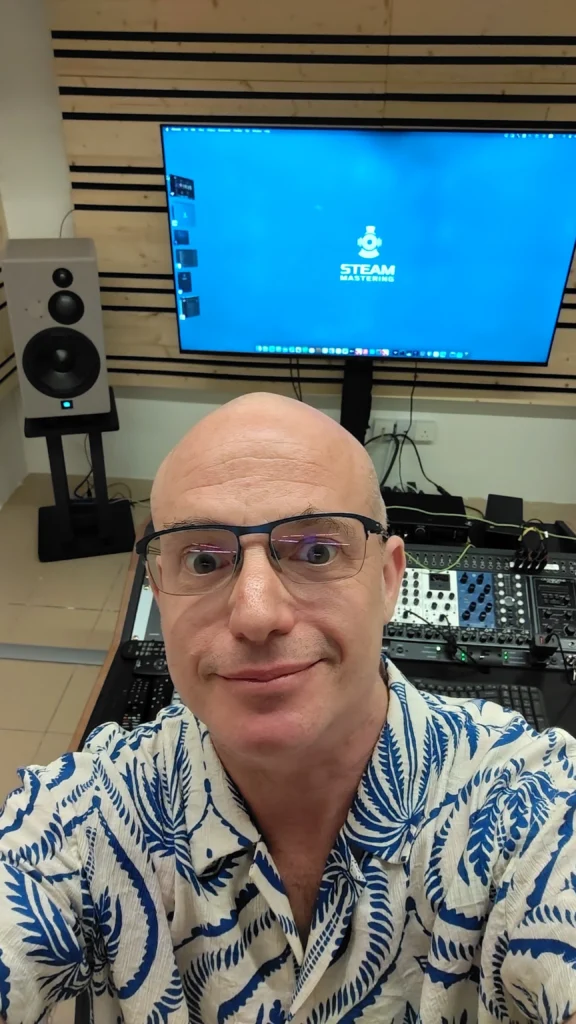
In my last post, I talked about my decision to experiment with a hybrid analog and digital mastering setup.
Before buying any racks or modules, the first step is planning how you’ll integrate analog gear into your current workflow.
Can you do it with the interface you already have?
And are you mixing, mastering, or both?
If you’re mixing, will you just run a few pieces of hardware, or do you want something on every channel? That choice will shape what kind of interface you need.
Choosing a format
Then comes the question of modules.
I chose the 500 series format, mainly because it offers more affordable access to mastering-grade gear. What “mastering-grade” really means is probably a whole topic on its own.
That decision also affects everything else—whether you need a rack, a 500 series chassis, or even a larger desk.
As I mentioned in the last post, one of the reasons I went down the 500 series route was to keep my workstation small. A bigger desk can introduce more reflections, so limiting the footprint was part of the plan from the start and helps keep the listening environment controlled.
Connections and routing
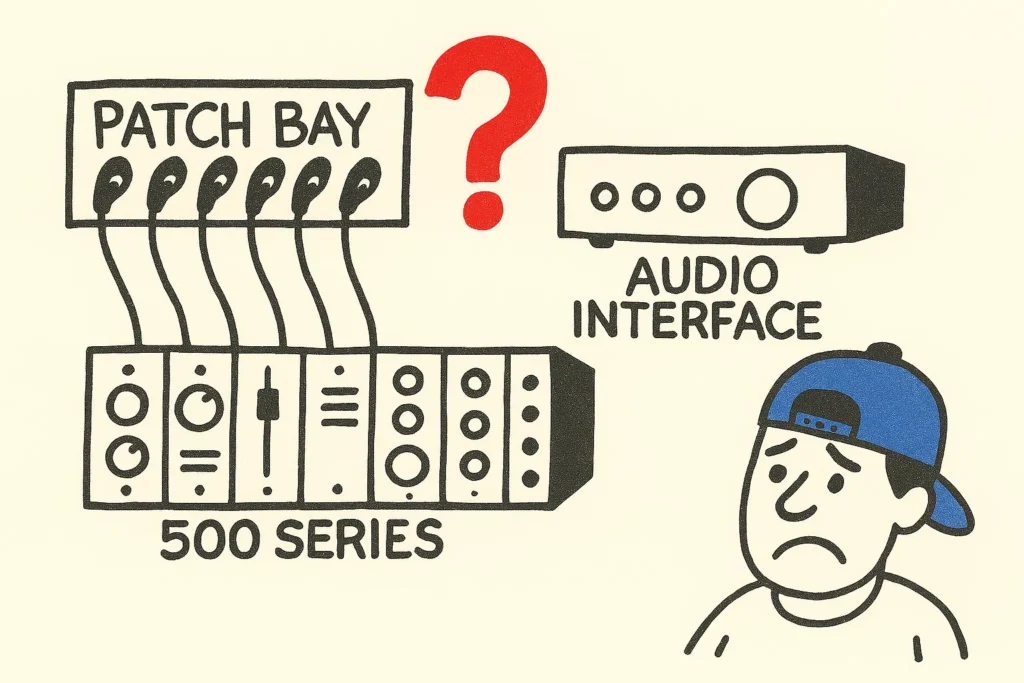
Your interface determines how many inputs and outputs you have, but beyond that, you need to think about how everything will actually be connected and routed.
Do you want a fixed signal path, or something more flexible?
Flexible routing sounds appealing, but it can quickly become messy or expensive. For mixing, that flexibility can be important. For mastering, less so—especially if consistency is the goal.
The DAC decision
My main goal was mastering. At the time, I was using a high-quality SMSL DAC, but it didn’t have any inputs.
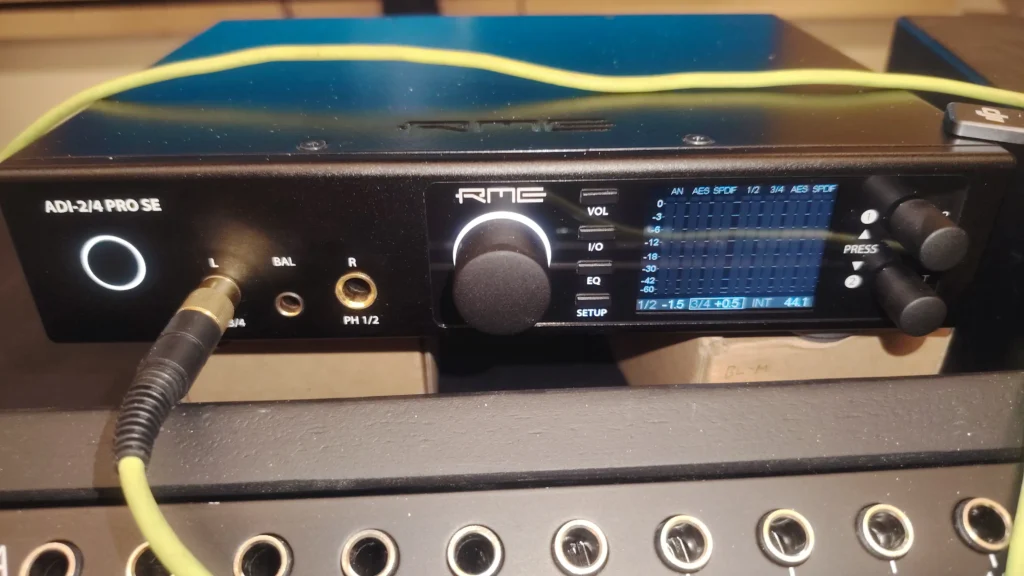
Since this was my first dedicated mastering A/D converter, I aimed for something as clean as possible, with high dynamic range and low noise, within the limits of what I could find locally in Malaysia.
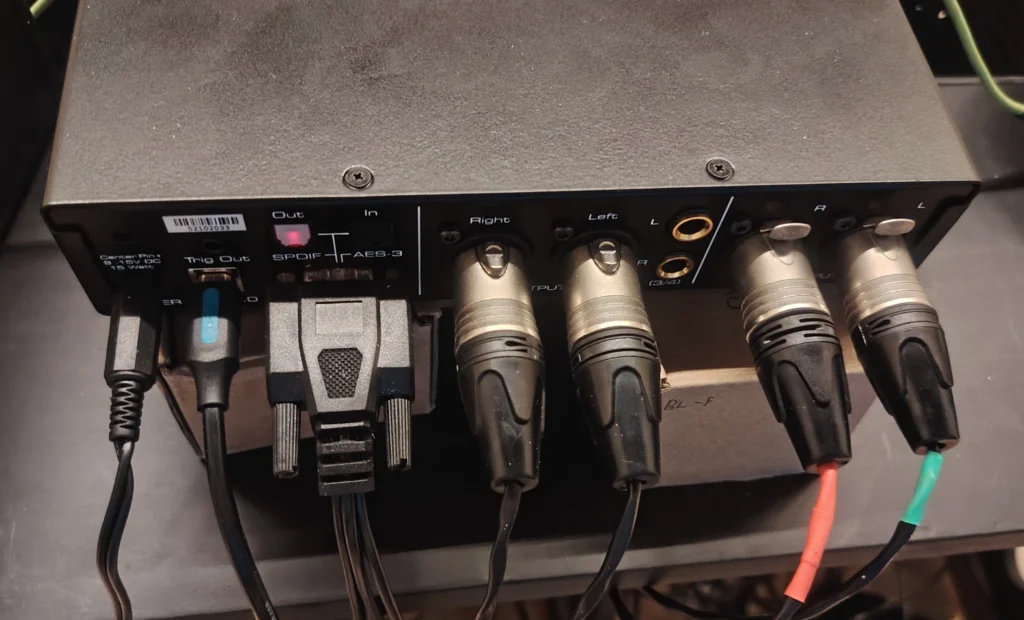
I landed on either the RME ADI-2 Pro (https://www.rme-audio.de/adi-2-pro.html) or the Lynx Hilo (https://lynxstudio.com/products/hilo/). As it turned out, I found an ADI-2/4 Pro SE locally and went with that.
Before my new speakers arrived, I kept using the SMSL DAC. (https://soundnews.net/sources/dacs/smsl-m500-review-mqa-for-the-masses/), feeding it via S/PDIF from the RME.
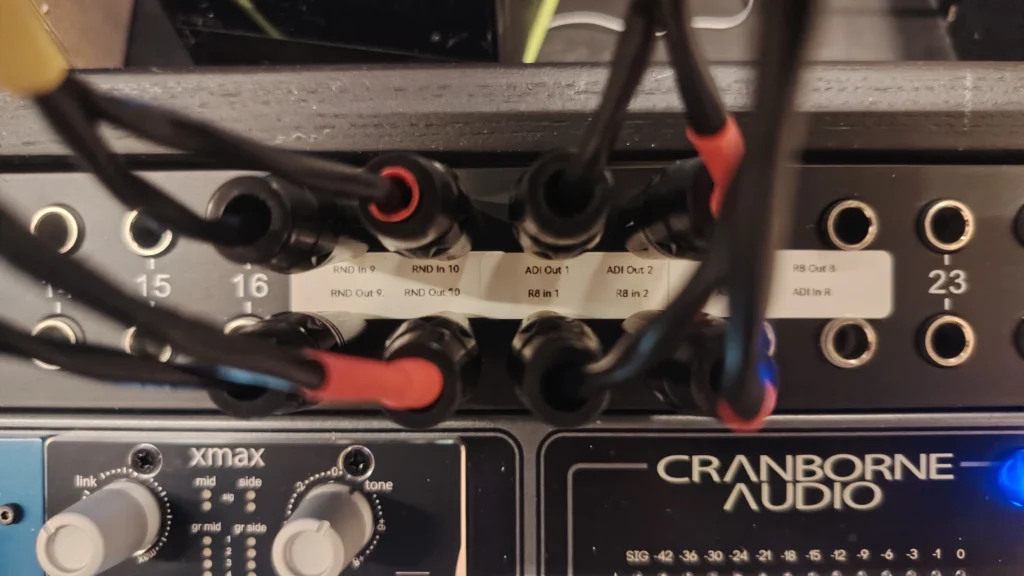
From there, the signal flow was simple: the main outputs of the RME fed the first module, and the last module returned to the inputs.
Chassis
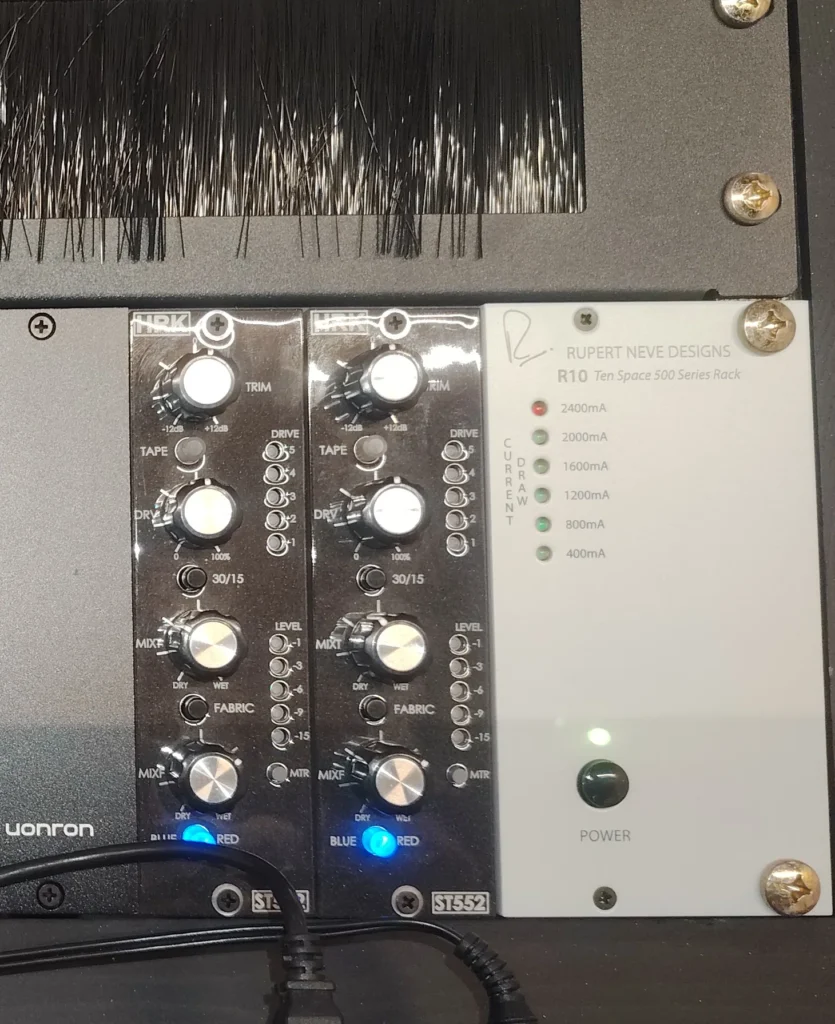
I ordered a Rupert Neve R10 chassis. It seemed like a solid choice with good power and a strong reputation.
The catch was a three-month wait.
So in the meantime, I picked up a Midas L10. Initially it was just to get started, but it turned out to be completely usable.
Most of my modules now live in a Cranborne Audio R8, which I picked up second-hand along with a Wes Audio Dione.
While most of my work is mastering, I also mix and produce, so the Cranborne works well for that too.
Putting routing into practice
This is where those earlier decisions about connections really start to matter.
Flexible routing systems can be powerful, but they come with trade-offs.
Mastering consoles can handle complex routing, but they’re expensive. Patchbays are another option, but they require time and cabling.
Some newer systems, like those from Wolff Audio, look great, but they’re more than what I need right now.
What I’ve found, both from my own experience and from others, is that once you settle on a chain, you rarely change it.
Certain processors just work better before or after others.
I noticed this even when working entirely in plugins.
So my setup started simple, with modules patched directly one into the next. As I added more gear, I experimented with order, but not constantly.
I added a patchbay to be able to add a module at the start and/or at the end of the chain.
Now, the core chain stays consistent, with just enough flexibility to patch around it when needed. That makes it easier to focus on listening and decision-making.

Where to start with modules?
That part is more personal.
There isn’t one “right” starting point. It depends on how you work, what you’re trying to solve, and how you hear things.
I’ll get into my choices in the next post
Final thoughts
If you’re working through similar decisions in your own setup, these small choices tend to matter more over time than they seem at first.
And if you’d rather focus on the music and leave those final decisions to someone with a settled chain and workflow, that’s always an option too.

Steam Mastering Blog Community
Never miss a post, or a special offer
Make sure you get notified about our posts containing mixing techniques, mastering information, client success stories and occasionally receive a special offer.